|
How to rip a CD to MP3
The next in a set of three "How To's" from Justin Hornsby (contact him on Justins email address (remove "nospam" from address)),, a Dj who's just trying to share the know-how like me. A lot of hard work has been put into these three guides, so read and learn. The programs he mentions using are the best for the job. By all means substitute your favourites (I use Cool Edit instead of Sonic Foundry) - just don't come to us if it goes wrong!!
It's EASY. What you need (click on the links to
download the programs).
-
Audiograbber
- a great CD ripping program. It's very good at ripping CD tracks to
wave files (not MP3) and has a basic MP3 encoder built in. It's best
used with a dedicated MP3 encoder such as:
-
FastEnc
- A fast, good quality MP3 encoder.
Then open Audiograbber.
INSTALLATION
First of all download
and install Audiograbber.
Then
download FastEnc. The program is contained in a ZIP archive, so
you'll need
Winzip
to open it.
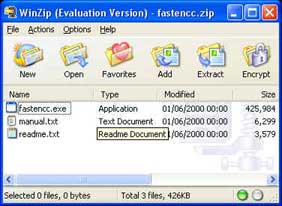
Unzip the
fastencc.exe
file to the directory where Audiograbber is installed.
Close
Winzip.
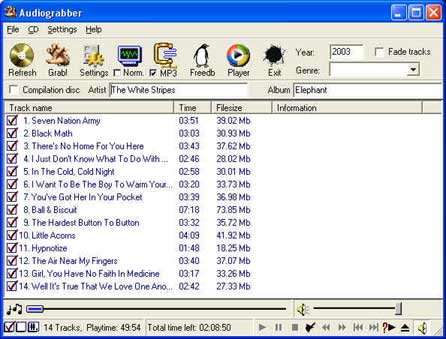
Now open
Audiograbber. You'll see a screen like this:
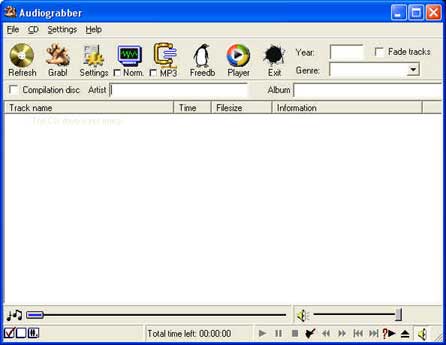
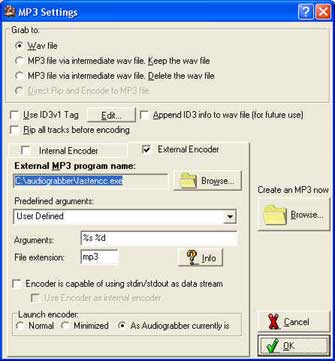
Now you have to tell Audiograbber to use
an external MP3 encoder. Click on the
MP3
icon. You'll
see the following screen:
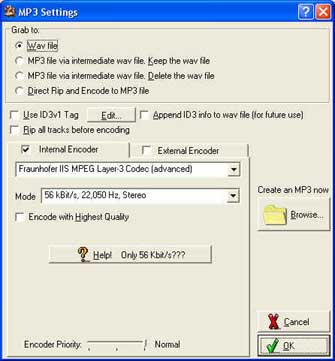
What you now need to do is change the '
Grab
to
' setting to
'MP3 file via intermediate wav file. Delete the wav
file
'. This tells Audiograbber to rip each CD track to a
temporary wav file, convert it to MP3, then delete the temporary wav file.
After doing that you need to click the
'External
Encoder
' tick box:
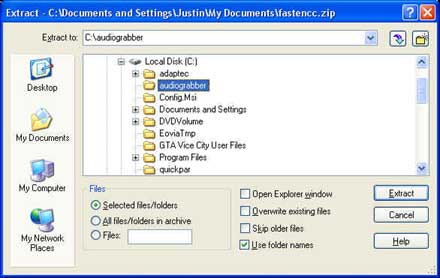
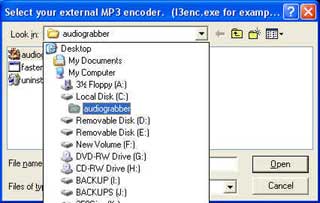
Click on the
Browse
button to
locate the
fastencc.exe
file which is located in your
C:\Audiograbber
directory:
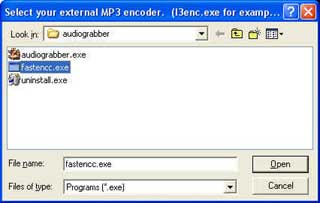
Click the
Open
button.

Now click on
OK
.
Audiograbber now needs to know where you
want to put the MP3s you rip from CD. Click the
Settings
button.
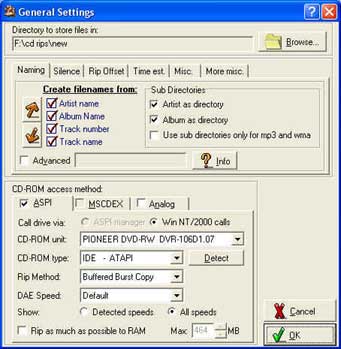
Click on the
Browse
button to find
or create a directory to store your MP3s. You might want to set
other options like the ones shown above. This settings screen can
also be used to choose which drive you want to use to read CDs if you have
more than one.
RIPPING
Put an audio CD in your CDROM / DVD
drive. Audiograbber will then look at the CD to find out what's on
it.
If you don't see proper track & title
info (i.e. just 'Track 1, Track 2' etc) click on the
Freedb
icon.
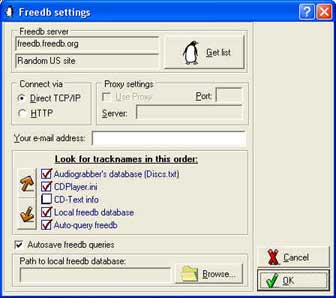
Make sure that all the boxes shown ticked
in the picture above are ticked in your program. Click on OK.
BTW you need to have a connection to the internet for Freedb to
work. Most CDs have a catalogue number embedded in them.
Audiograbber gets the catalogue number and looks it up in the freedb
database. The freedb database contains info about the CD such as
artist etc and all the tracklisting. Sometimes there might be more
than one match for your CD in the list. In that case you need to
choose the most likely candidate.
If there's no freedb entry for your CD
it's very easy to edit the Artist & track info. Just type the
Artist & album name in the boxes provided. To edit a track name,
select it with a left mouseclick. Then right click on it and choose
rename.
Type the name you want for the track & press
enter
.
TIP:
As excellent as the freedb database is,
sometimes there are spelling mistakes and other errors. It always
pays to check all the info before ripping the CD.
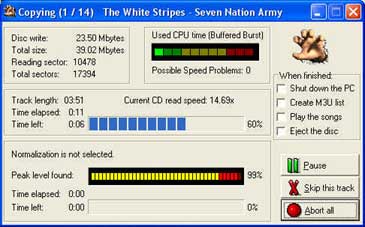
When you're happy with the tracklisting
etc, click on the
Grab!
button.
The tracks will be ripped and turned into
MP3s one by one - and they'll be saved where you told Audiograbber to put
them.
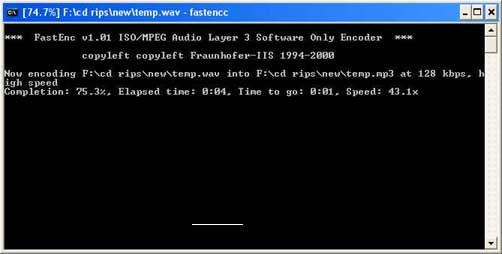
When it's done all of them, that's
it!!! You've ripped all the CD tracks & turned them into
MP3s. The MP3s will also contain artist & title information too
:D
sex levis coke coca-cola
|


